Top 5 CapCut Tools Every Beginner Should Explore

Capcut does a lot. Like, a lot.
And while you don’t need to understand every single tool, there are a few we genuinely enjoy using because they’re simple, playful, and make videos feel more alive. These are our five favourite CapCut tools — not must-knows, just the ones we have the most fun with.
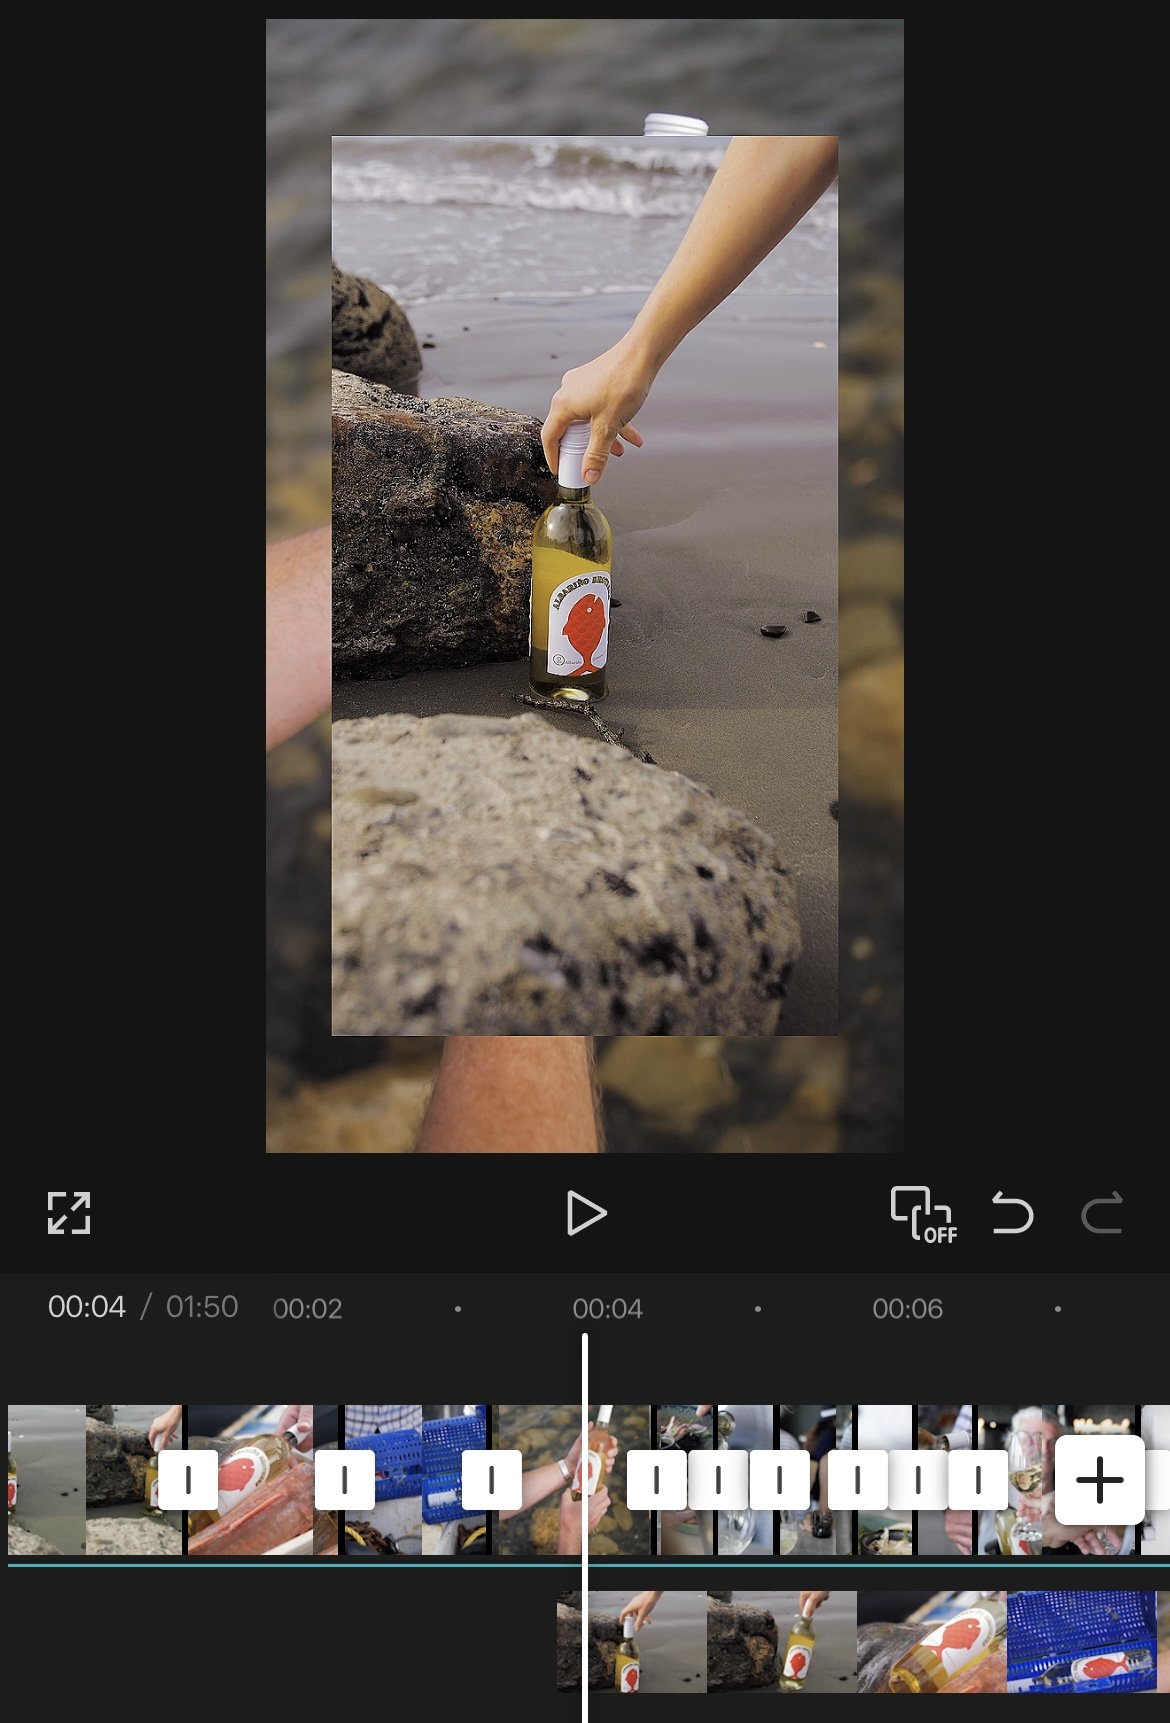
1. Keyframe

An absolute beast of a weapon, and one of our personal favs. Keyframes let you bring static images to life, emphasise jokes or important moments, and add movement where there was none. They’re perfect for those subtle pushes, pulls, and shifts that make a video feel intentional instead of flat.
Need a dramatic zoom-in for effect? Keyframes. Want text to dance across the screen or gently drift into place? Keyframes. Even tiny movements — like a slow scale or position shift — can add energy without being distracting. We use this tool every single time we make videos. Every. Dang. Time. Because once you start using keyframes, it’s very hard to go back to static everything.
How to use keyframes (the simple version):
Select the clip or text you want to animate, tap the little keyframe (diamond) icon next to the ‘undo’ button, then move the playhead forward and adjust the position, scale, or rotation. CapCut will animate the movement between those points automatically. Two keyframes = one movement. Add more if you want things to get spicy.
Start small, have a play, and don’t overthink it.
2. Overlay
Stack your content like a pro. Overlays let us add logos (boring but sometimes necessary), throw in reaction videos, build seamless split screens, or finally create that chaotic meme edit we’ve been dreaming about. They’re perfect for layering extra context, humour, or visual interest without rebuilding the whole edit.
If you’ve ever watched a video and thought, this needs more stuff on top of it — Overlay is your best friend. It’s how you go from “single clip” to “this feels intentional”.
How to use overlays (the simple version):
Add a second clip, image, or graphic to your timeline above your main video. Resize it, move it, crop it, or keyframe it if you’re feeling fancy. Anything sitting on a layer above your main clip is an overlay — simple as that. Start messy. Tidy later. That’s half the fun.
3. Audio Effects

Don’t like the sound of your own voice? Don’t stress — we’ve got you. Audio Effects are perfect for storytelling, comedic edits, or simply masking the fact that you recorded a voiceover and it sounds like you’ve been chugging ciggies your whole life. Bleurgh. We don’t need that.
They’re great for adding character, smoothing things out, or leaning into a bit of humour when the raw audio just isn’t doing you any favours.
How to use audio effects (the simple version):
Tap on your audio clip, head to Audio Effects, and have a play. Try different presets, adjust the intensity, and see what fits the vibe. Subtle tweaks usually work best — unless you’re intentionally going full chaos. Fix the voice. Tell the story. Move on.
4. Video Effects

Your secret weapon for making footage feel less like it was filmed in your living room. Video Effects let us add texture, shift the mood, or give clips a slightly cinematic edge — or honestly, just throw something on because it feels right. Used lightly, effects can smooth over rough edges and pull everything together. Used recklessly… they can still be part of the charm. Sometimes you just chuck one on, trust the process, and see what happens. No shame.
How to use video effects (the simple version):
Tap on your clip, head to Video Effects, and scroll through the options. Pick one, apply it, then adjust the intensity so it doesn’t completely hijack the footage. Most effects work best when they’re subtle — enough to change the feel without screaming “I discovered effects today”.
If it makes the clip feel better, keep it.
If it distracts you, ditch it.
5. Remove Background

We know this one exists, but it’s still worth mentioning because it’s actually useful. No green screen? No problem. Capcut’s Remove Background tool instantly cuts you out from whatever chaos is happening behind you — laundry piles, messy rooms, questionable life choices — gone.
It’s perfect for quick talking-head videos, overlays, or pretending you filmed somewhere far more put-together than reality. Respect to the Remove Background tool. Genuine respek.
How to use Remove Background (the simple version):
Tap on your clip, head to Cutout or Remove Background, and let CapCut do its thing. It automatically detects and removes the background, then you can drop yourself onto a new background, colour, or video if you want.
Does it work perfectly every time? No. Does it work well enough most of the time? Absolutely. And that’s the whole vibe.
Want to know more about Capcut? Check out our resources below.
Become A Better Editor
Capcut gets way more fun once you actually know what you’re looking at. If you want to understand the tools, feel more confident editing, and stop clicking buttons just to see what happens, learning the basics properly makes everything easier.
Learn Editing